The Product Media panel in the sidebar holds the main image and the gallery. You can add images from the Media Library, upload new ones, or drag files straight from your computer.
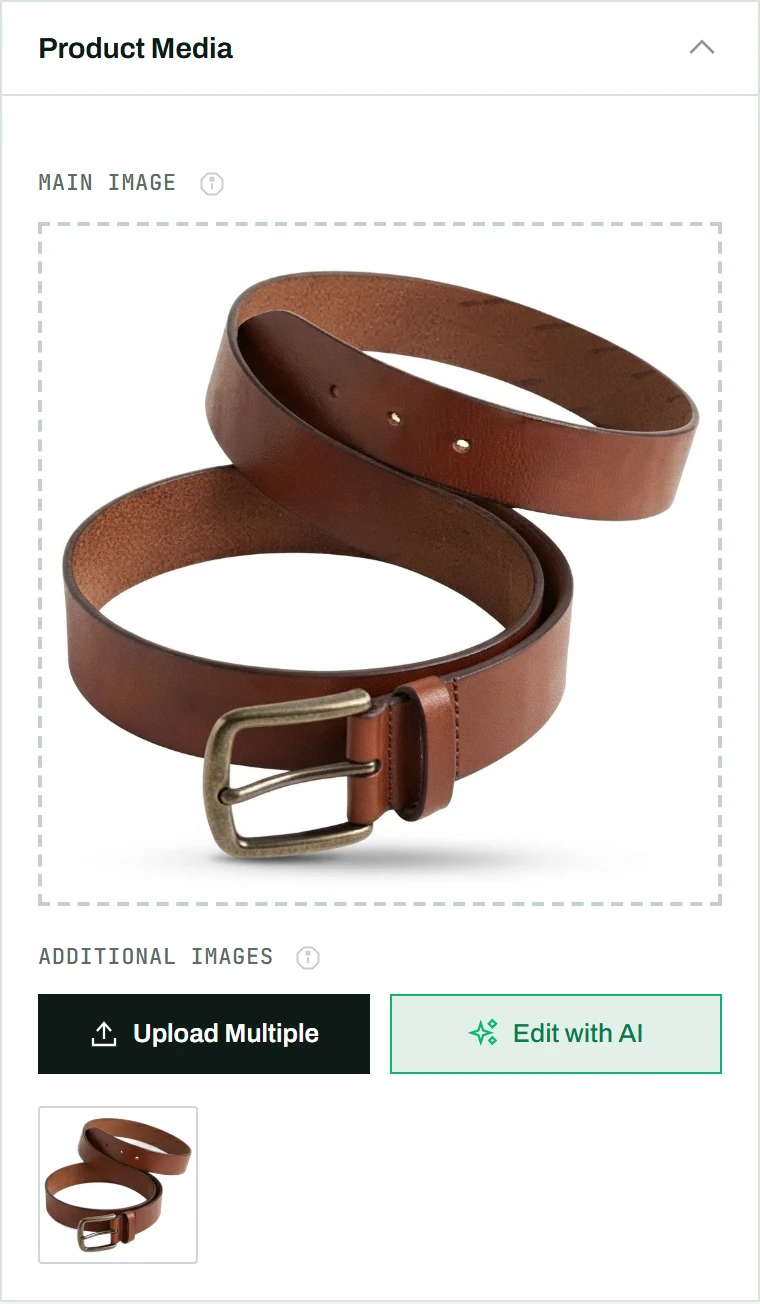
Setting the main image
- Click the large image area in the sidebar, under Product Media.
- Select an image from the WordPress Media Library, or upload a new one.
- To replace it, hover over the image and click the swap button in the top-left corner.
- To remove it, hover over the image and click the trash icon in the top-right corner.
Adding and reordering gallery images
- Click Upload Multiple below the main image.
- Select one or more images; they appear as a grid of thumbnails.
- Drag and drop thumbnails to reorder them, or drag a gallery image onto the main image area to swap the two.
- To remove a gallery image, hover over its thumbnail and click the trash icon.
Drag-and-drop from your computer
Drag image files directly from your computer onto the image area. The first image becomes the main image and the rest go to the gallery, with no separate trip to the Media Library.
Images can also arrive from a product page, through Import from URL or Fill with AI (Pro). Those imports keep only real product photos: thumbnails and icons with both sides under 400 px are skipped, and a photo the page serves in several sizes is kept once, in its largest size.
Tip: You can also paste an image from a URL or from your clipboard (Pro), and edit an image with AI (Pro). Images CataLord creates get SEO-friendly filenames automatically.
Server tip: CataLord converts and optimizes images with ImageMagick when your server has it, which gives noticeably higher quality than PHP’s built-in GD fallback. If processed images ever look soft, ask your host to enable the Imagick PHP extension.